Boosting Elasticsearch with machine learning – Elasticsearch, RankLib, Docker
01 Dec 2018
Elastic search is powerful search engine. Its distributed architecture give ability to build scalable full-text search solution. Additionally it provides comprehensive query language.
Despite this sometimes the engine and search results is not enough to meet the expectations of users. In such situations it is possible to boost search quality using machine learning algorithms.
Before you will continue reading please watch short introduction: https://youtu.be/etYrtgIf3hc
In this article I will show how to do this using RankLib library and LambdaMart algorithm . Moreover I have created ready to use platform which:
- Index the data
- Helps to label the search results in the user friendly way
- Trains the model
- Deploys the model to elastic search
- Helps to test the model
The whole project is setup on the docker using docker compose thus you can setup it very easy. The platform is based on the elasticsearch learning to rank plugin. I have also used the python example described in this project.
Before you will start you will need docker and docker-compose installed on your machine (https://docs.docker.com/get-started/)
To run the project you have to clone it:
git clone https://github.com/qooba/elasticsearch-learning-to-rank.git
Then to make elasticsearch working you need to create data folder with appropriate access:
cd elasticsearch-learning-to-rank/
mkdir docker/elasticsearch/esdata1
chmod g+rwx docker/elasticsearch/esdata1
chgrp 1000 docker/elasticsearch/esdata1
Finally you can run the project:
docker-compose -f app/docker-compose.yml up
Now you can open the http://localhost:8020/.
1. Architecture
There are three main components:
A. The ngnix reverse proxy with angular app B. The flask python app which orchestrates the whole ML solution C. The elastic search with rank lib plugin installed
A. Ngnix
I have used the Ngnix reverse proxy to expose the flask api and the angular gui which helps with going through the whole proces.
ngnix.config
server {
    listen 80;
    server_name localhost;
    root /www/data;

    location / {
        autoindex on;
    }

    location /images/ {
        autoindex on;
    }

    location /js/ {
        autoindex on;
    }

    location /css/ {
        autoindex on;
    }

    location /training/ {
        proxy_set_header   Host                 $host;
        proxy_set_header   X-Real-IP            $remote_addr;
        proxy_set_header   X-Forwarded-For      $proxy_add_x_forwarded_for;
        proxy_set_header   X-Forwarded-Proto    $scheme;
        proxy_set_header Host $http_host;

        proxy_pass http://training-app:5090;
    }
}
B. Flask python app
This is the core of the project. It exposes api for:
- Indexing
- Labeling
- Training
- Testing
It calls directly the elastic search to get the data and do the modifications. Because training with RankLib require the java thus Docker file for this part contains default-jre installation. Additionally it downloads the RankLib-2.8.jar and tmdb.json (which is used as a default data source) from: http://es-learn-to-rank.labs.o19s.com/.
Dockerfile
FROM python:3

RUN \
    apt update && \
    apt-get -yq install default-jre
RUN mkdir -p /opt/services/flaskapp/src
COPY . /opt/services/flaskapp/src
WORKDIR /opt/services/flaskapp/src
RUN pip install -r requirements.txt
RUN python /opt/services/flaskapp/src/prepare.py
EXPOSE 5090
CMD ["python", "-u", "app.py"]
C. Elastic search
As mentioned before it is the instance of elastic search with the rank lib plugin installed
Dockerfile
FROM docker.elastic.co/elasticsearch/elasticsearch:6.2.4
RUN /usr/share/elasticsearch/bin/elasticsearch-plugin install \
-b http://es-learn-to-rank.labs.o19s.com/ltr-1.1.0-es6.2.4.zip
All layers are composed with docker-compose.yml:
version: '2.2'
services:
  elasticsearch:
    build: ../docker/elasticsearch
    container_name: elasticsearch
    environment:
      - discovery.type=single-node
      - bootstrap.memory_lock=true
      - xpack.security.enabled=false
      - "ES_JAVA_OPTS=-Xms512m -Xmx512m"
    ulimits:
      memlock:
        soft: -1
        hard: -1
    volumes:
      - ../docker/elasticsearch/esdata1:/usr/share/elasticsearch/data
    networks:
      - esnet

  training-app:
    build: ../docker/training-app
    networks:
      - esnet
    depends_on:
      - elasticsearch
    environment:
      - ES_HOST=http://elasticsearch:9200
      - ES_INDEX=tmdb
      - ES_TYPE=movie
    volumes:
      - ../docker/training-app:/opt/services/flaskapp/src

  nginx:
    image: "nginx:1.13.5"
    ports:
      - "8020:80"
    volumes:
      - ../docker/frontend-reverse-proxy/conf:/etc/nginx/conf.d
      - ../docker/frontend-reverse-proxy/www/data:/www/data
    depends_on:
      - elasticsearch
      - training-app
    networks:
      - esnet


volumes:
  esdata1:
    driver: local

networks:
  esnet:
2. Platform
The platform helps to run and understand the whole process thought four steps:
A. Indexing the data B. Labeling the search results C. Training the model D. Testing trained model
A. Indexing
The first step is obvious thus I will summarize it shortly. As mentioned before the default data source is taken from tmdb.json file but it can be simply changed using ES_DATA environment variable in the docker-compose.yml :
training-app:
    environment:
      - ES_HOST=http://elasticsearch:9200
      - ES_DATA=/opt/services/flaskapp/tmdb.json
      - ES_INDEX=tmdb
      - ES_TYPE=movie
      - ES_FEATURE_SET_NAME=movie_features
      - ES_MODEL_NAME=test_6
      - ES_MODEL_TYPE=6
      - ES_METRIC_TYPE=ERR@10
Clicking Prepare Index the data is taken from ES_DATA file and indexed in the elastic search.
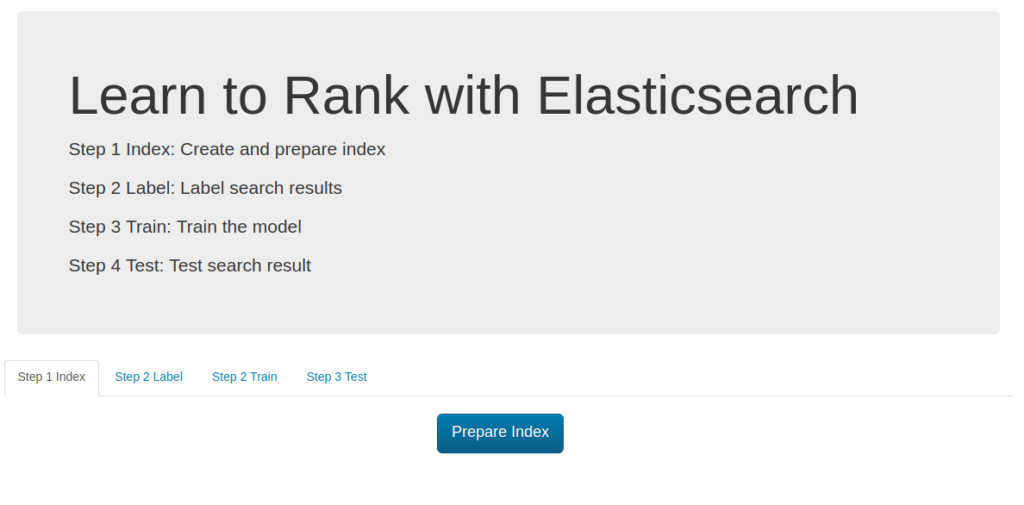
Additionally you can define:
- ES_HOST - the elastic search url
- ES_USER/ES_PASSWORD - elastic search credentials, by default authentication is turned off
- ES_INDEX/ES_TYPE - index/type name for data from ES_DATA file
- ES_FEATURE_SET_NAME - name of container for defined features (described later)
- ES_MODEL_NAME - name of trained model kept in elastic search (described later)
- ES_MODEL_TYPE - algorithm used to train the model (described later).
- ES_METRIC_TYPE - metric type (described later)
We can train and keep multiple models in elastic search which can be used for A/B testing.
B. Labeling
The supervised learning algorithms like learn to rank needs labeled data thus in this step I will focus on this area. First of all I have to prepare the file label_list.json which contains the list of queries to label e.g.:
[
    "rambo",
    "terminator",
    "babe",
    "die hard",
    "goonies"
]
When the file is ready I can go to the second tab (Step 2 Label).
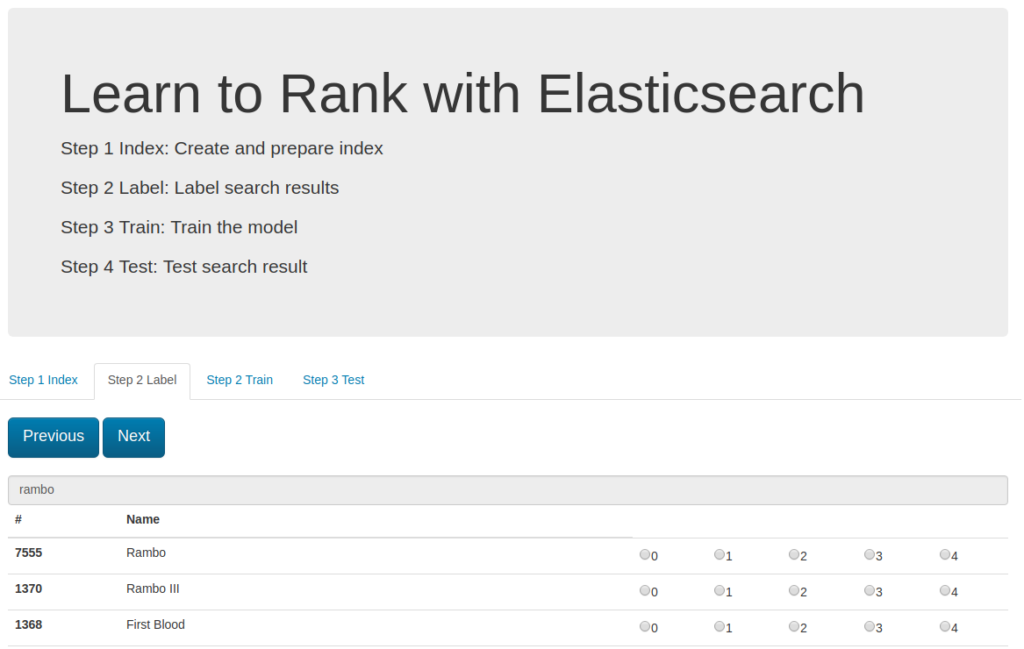
For each query item the platform prepare the result candidates which have to be ranked from 0 to 4.
You have to go through the whole list and at the last step the labeled movies are saved in the file :
# grade (0-4)	queryid	docId	title
#
# Add your keyword strings below, the feature script will
# Use them to populate your query templates
#
# qid:1: rambo
# qid:2: terminator
# qid:3: babe
# qid:4: die hard
#
# https://sourceforge.net/p/lemur/wiki/RankLib%20File%20Format/
#
#
4 qid:1 # 7555 Rambo
4 qid:1 # 1370 Rambo III
4 qid:1 # 1368 First Blood
4 qid:1 # 1369 Rambo: First Blood Part II
0 qid:1 # 31362 In the Line of Duty: The F.B.I. Murders
0 qid:1 # 13258 Son of Rambow
0 qid:1 # 61410 Spud
4 qid:2 # 218 The Terminator
4 qid:2 # 534 Terminator Salvation
4 qid:2 # 87101 Terminator Genisys
4 qid:2 # 61904 Lady Terminator
...
Each labeling cycle is saved to the separate file: timestamp_judgments.txt
C. Training
Now it is time to use labeled data to make elastic search much more smarter. To do this we have to indicate the candidates features.
The features list is defined in the files: 1-4.json in the training-app directory.
Each feature file is elastic search query eg. the **
(which is searched text) match the title property:
{
    "query": {
        "match": {
            "title": ""
        }
    }
}
In this example I have used 4 features:
- title match keyword
- overview match keyword
- keyword is prefix of title
- keyword is prefix of overview
I can add more features without code modification, the list of features is defined and read using naming pattern (1-n.json).
Now I can go to the Step 3 Train tab and simply click the train button.
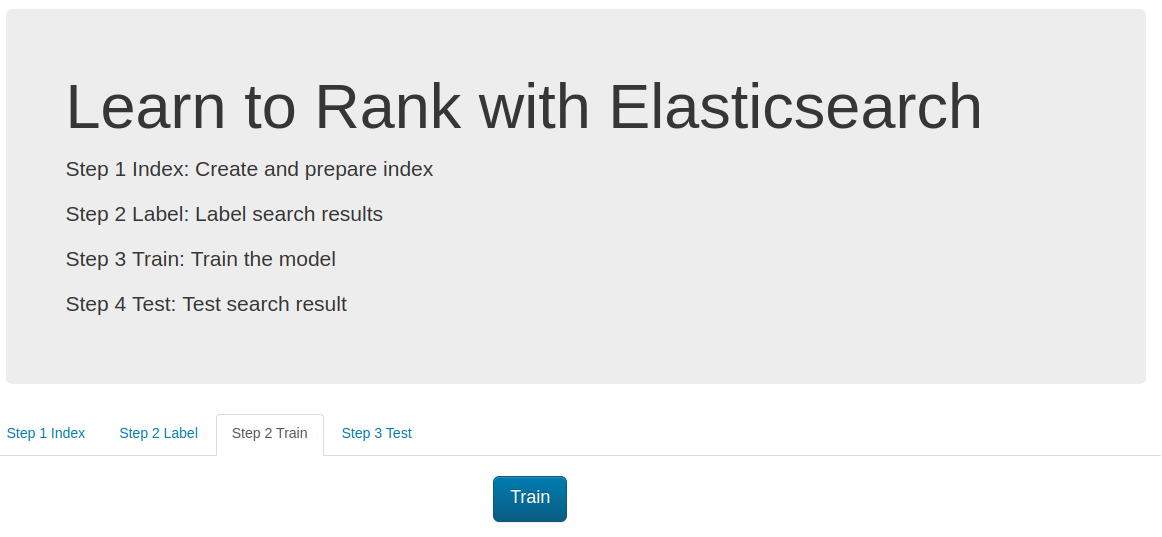
At the first stage the training app takes all feature files and build the features set which is save in the elastic search (the ES_FEATURE_SET_NAME environment variable defines the name of this set).
In the next step the latest labeling file (ordered by the timestamp) is processed (for each labeled item the feature values are loaded) eg.
4 qid:1 # 7555 Rambo
The app takes the document with id=7555 and gets the elastic search score for fetch defined feature. The Rambo example is translated into:
4 qid:1 1:12.318446 2:10.573845 3:1.0 4:1.0 # 7555 rambo
Which means that score of feature one is 12.318446 (and respectively 10.573845, 1.0, 1.0 for features 2,3,4 ). This format is readable for the RankLib library. And the training can be perfomed. The full list of parameters is available on: [https://sourceforge.net/p/lemur/wiki/RankLib/][https://sourceforge.net/p/lemur/wiki/RankLib/].
The ranker type is chosen using ES_MODEL_TYPE parameter:
- 0: MART (gradient boosted regression tree)
- 1: RankNet
- 2: RankBoost
- 3: AdaRank
- 4: Coordinate Ascent
- 6: LambdaMART
- 7: ListNet
- 8: Random Forests
The default used value is LambdaMART.
Additionally setting ES_METRIC_TYPE we can use the optimization metric. Possible values:
- MAP
- NDCG@k
- DCG@k
- P@k
- RR@k
- ERR@k
The default value is ERR@10
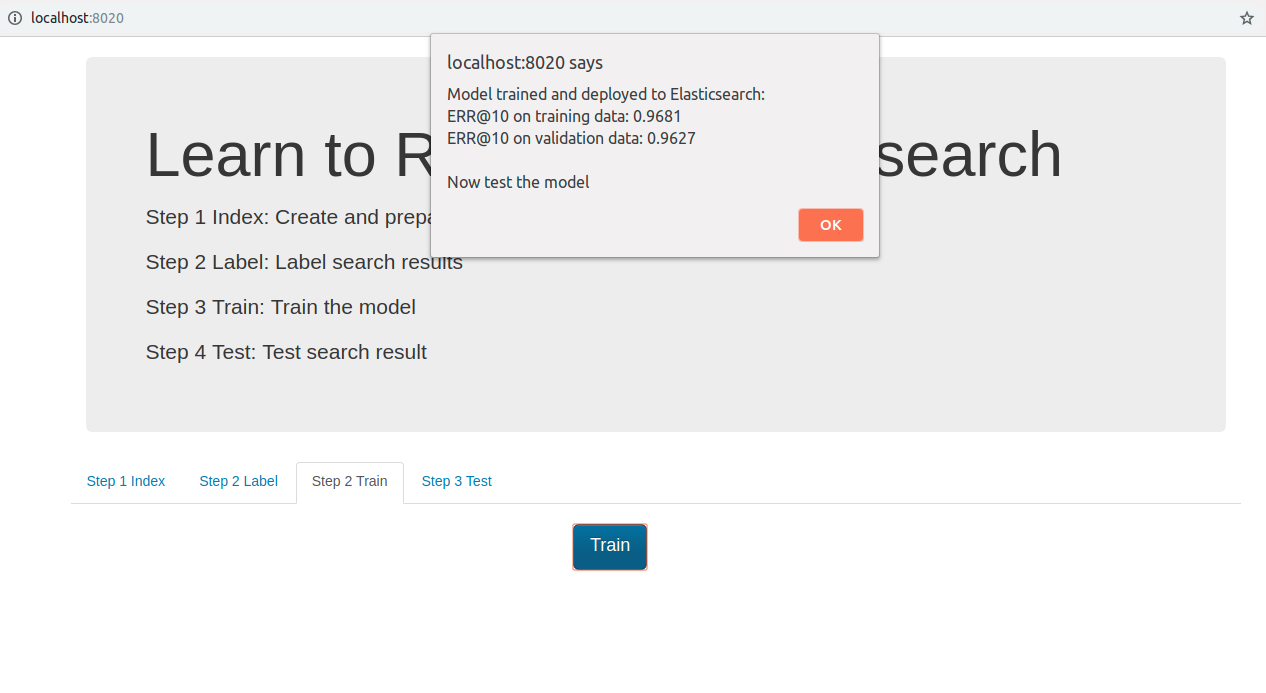
Finally we obtain the trained model which is deployed to the elastic search. The project can deploy multiple trained models and the deployed model name is defined by ES_MODEL_NAME.
D. Testing
In the last step we can test trained and deployed model.
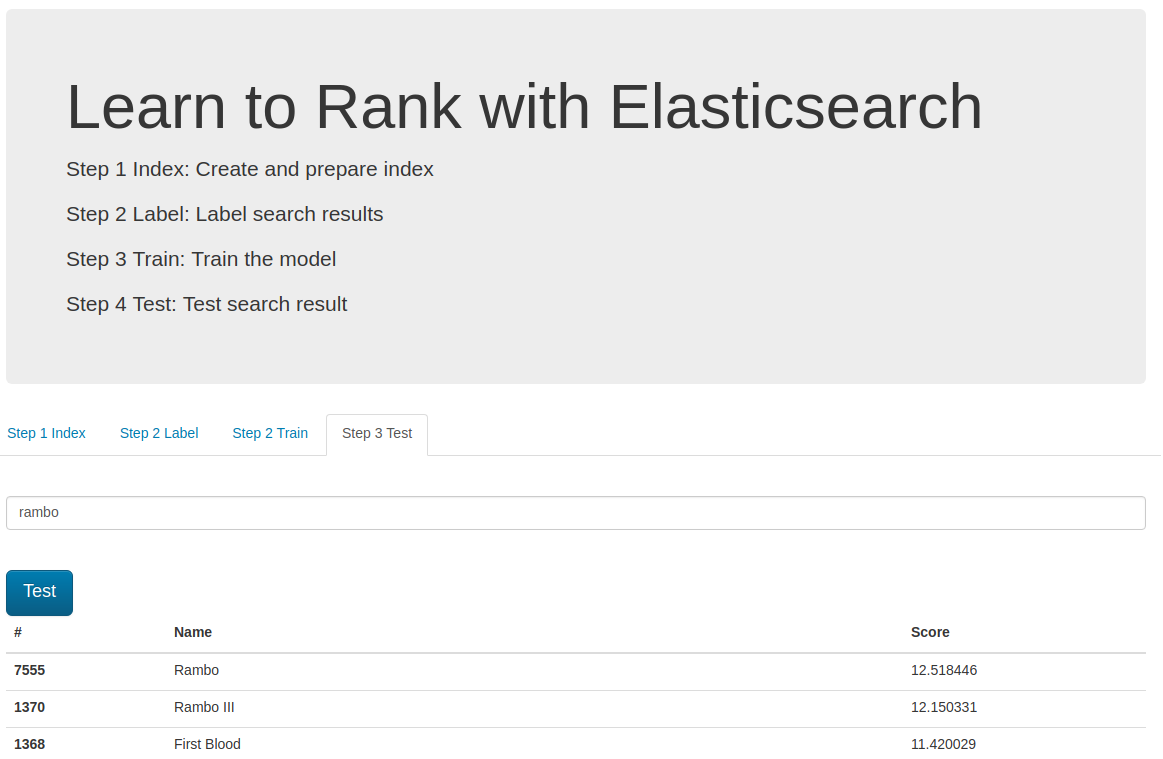
We can choose the model using the ES_MODEL_NAME parameter.
It is used in the search query and can be different in each request which is useful when we need to perform A/B testing.
Happy searching :)


